Adult Swim Costume Contest Online
Is your Adult Swim wardrobe tragically under-appreciated by society? Show us your best Adult Swim…

Is your Adult Swim wardrobe tragically under-appreciated by society? Show us your best Adult Swim…

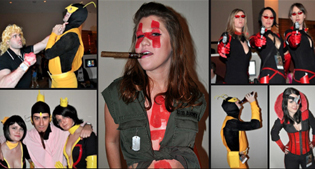
Vote for Venture Bros. Cosplayers, John McDonald and Lady Lomax in Southern Cospitality's Valentine Couple…

It was a highlight of my time at Dragon*Con last year and it was…
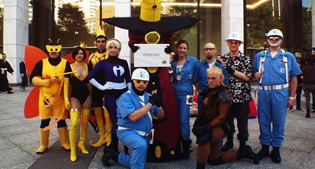
Spectators gather around Peachtree Street in downtown, Atlanta early last Saturday morning for the 2012…
Calling all Venture Brothers cosplayers! Join our parade group at Dragon*Con 2012. To register…