Venture Bros. Panels and Events at Dragon Con 2013
Dragon*Con is just a few days away! Are you ready? Please attend our panels and…

Dragon*Con is just a few days away! Are you ready? Please attend our panels and…
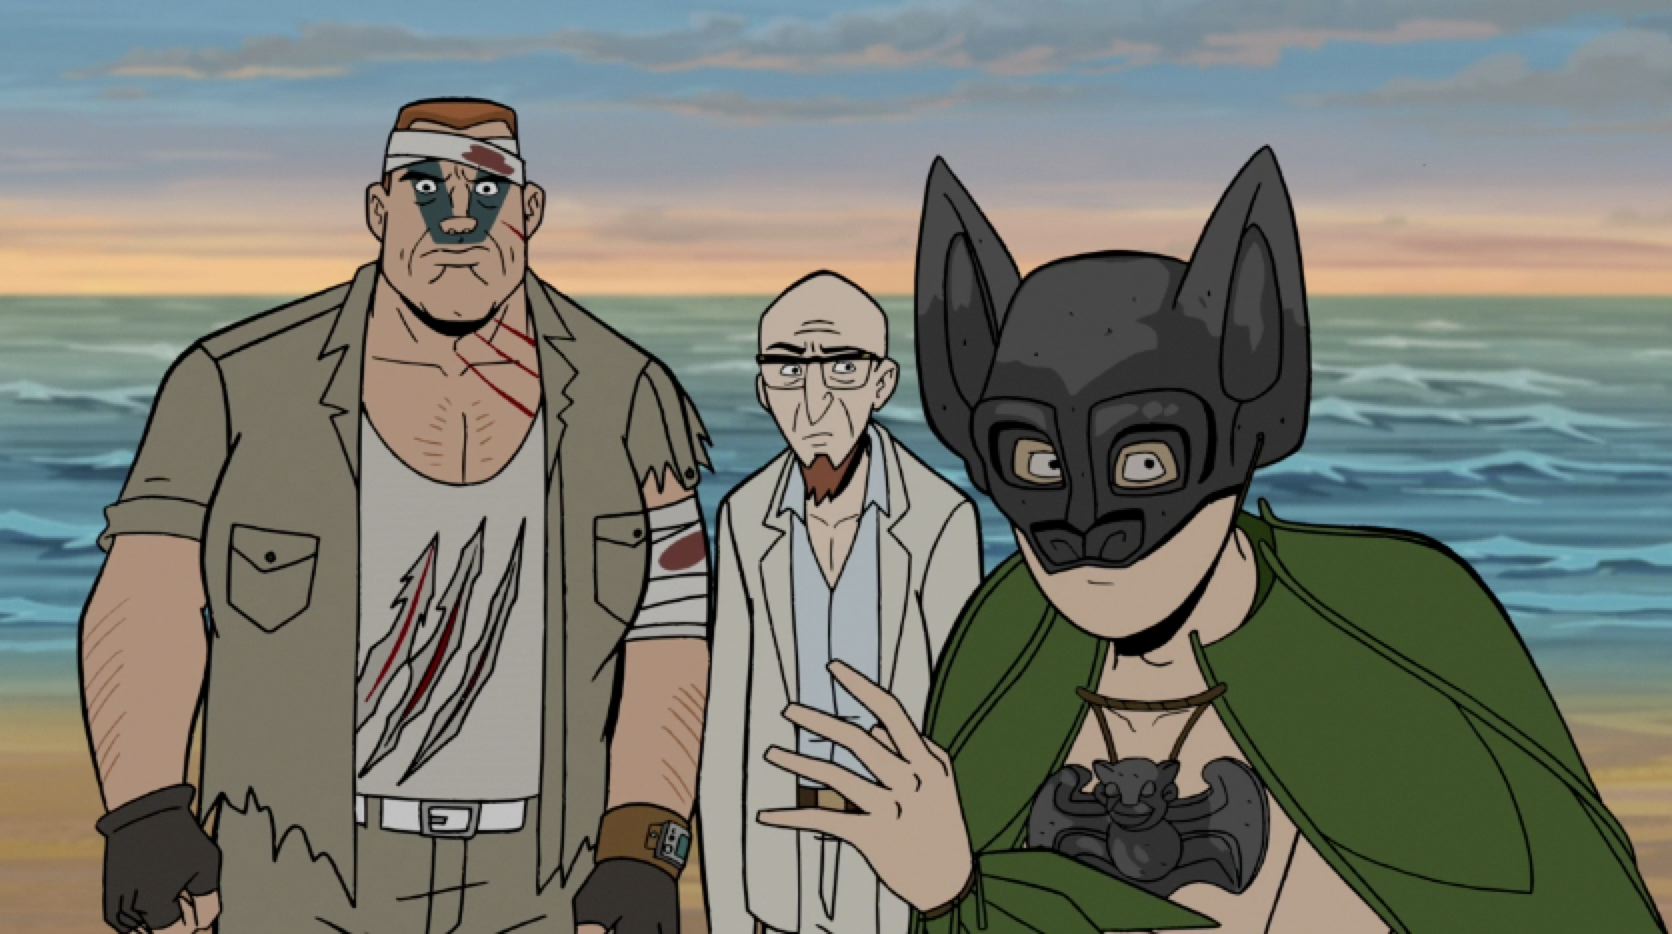
Warning: This article contains minor spoilers, we recommend you watch the Venture Bros. "Venture Libre"…

Unleash the Kraken! C'mon! Y'know that ran through your head when read this post title!…
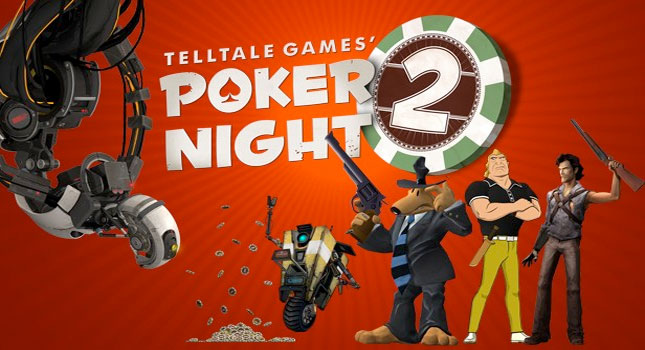
Telltale’s Poker Night 2 video game isn’t just for fans of poker. It stars a…

Quick warning, if you have not seen the Venture Bros. Special "A Very Venture Halloween,"…